Account
You reach your account settings from the topbar, via the icon with your initials. From that menu you switch between light/dark mode, open your user settings (/user/settings), manage your API tokens & MCP (/user/tokens, from v1.57) and send feedback (/user/feedback). This page also explains how to recover your password if you can no longer log in.
User settings
The User settings page (/user/settings) consists of two stacked forms: updating your profile and changing your password. The page is available in every environment.
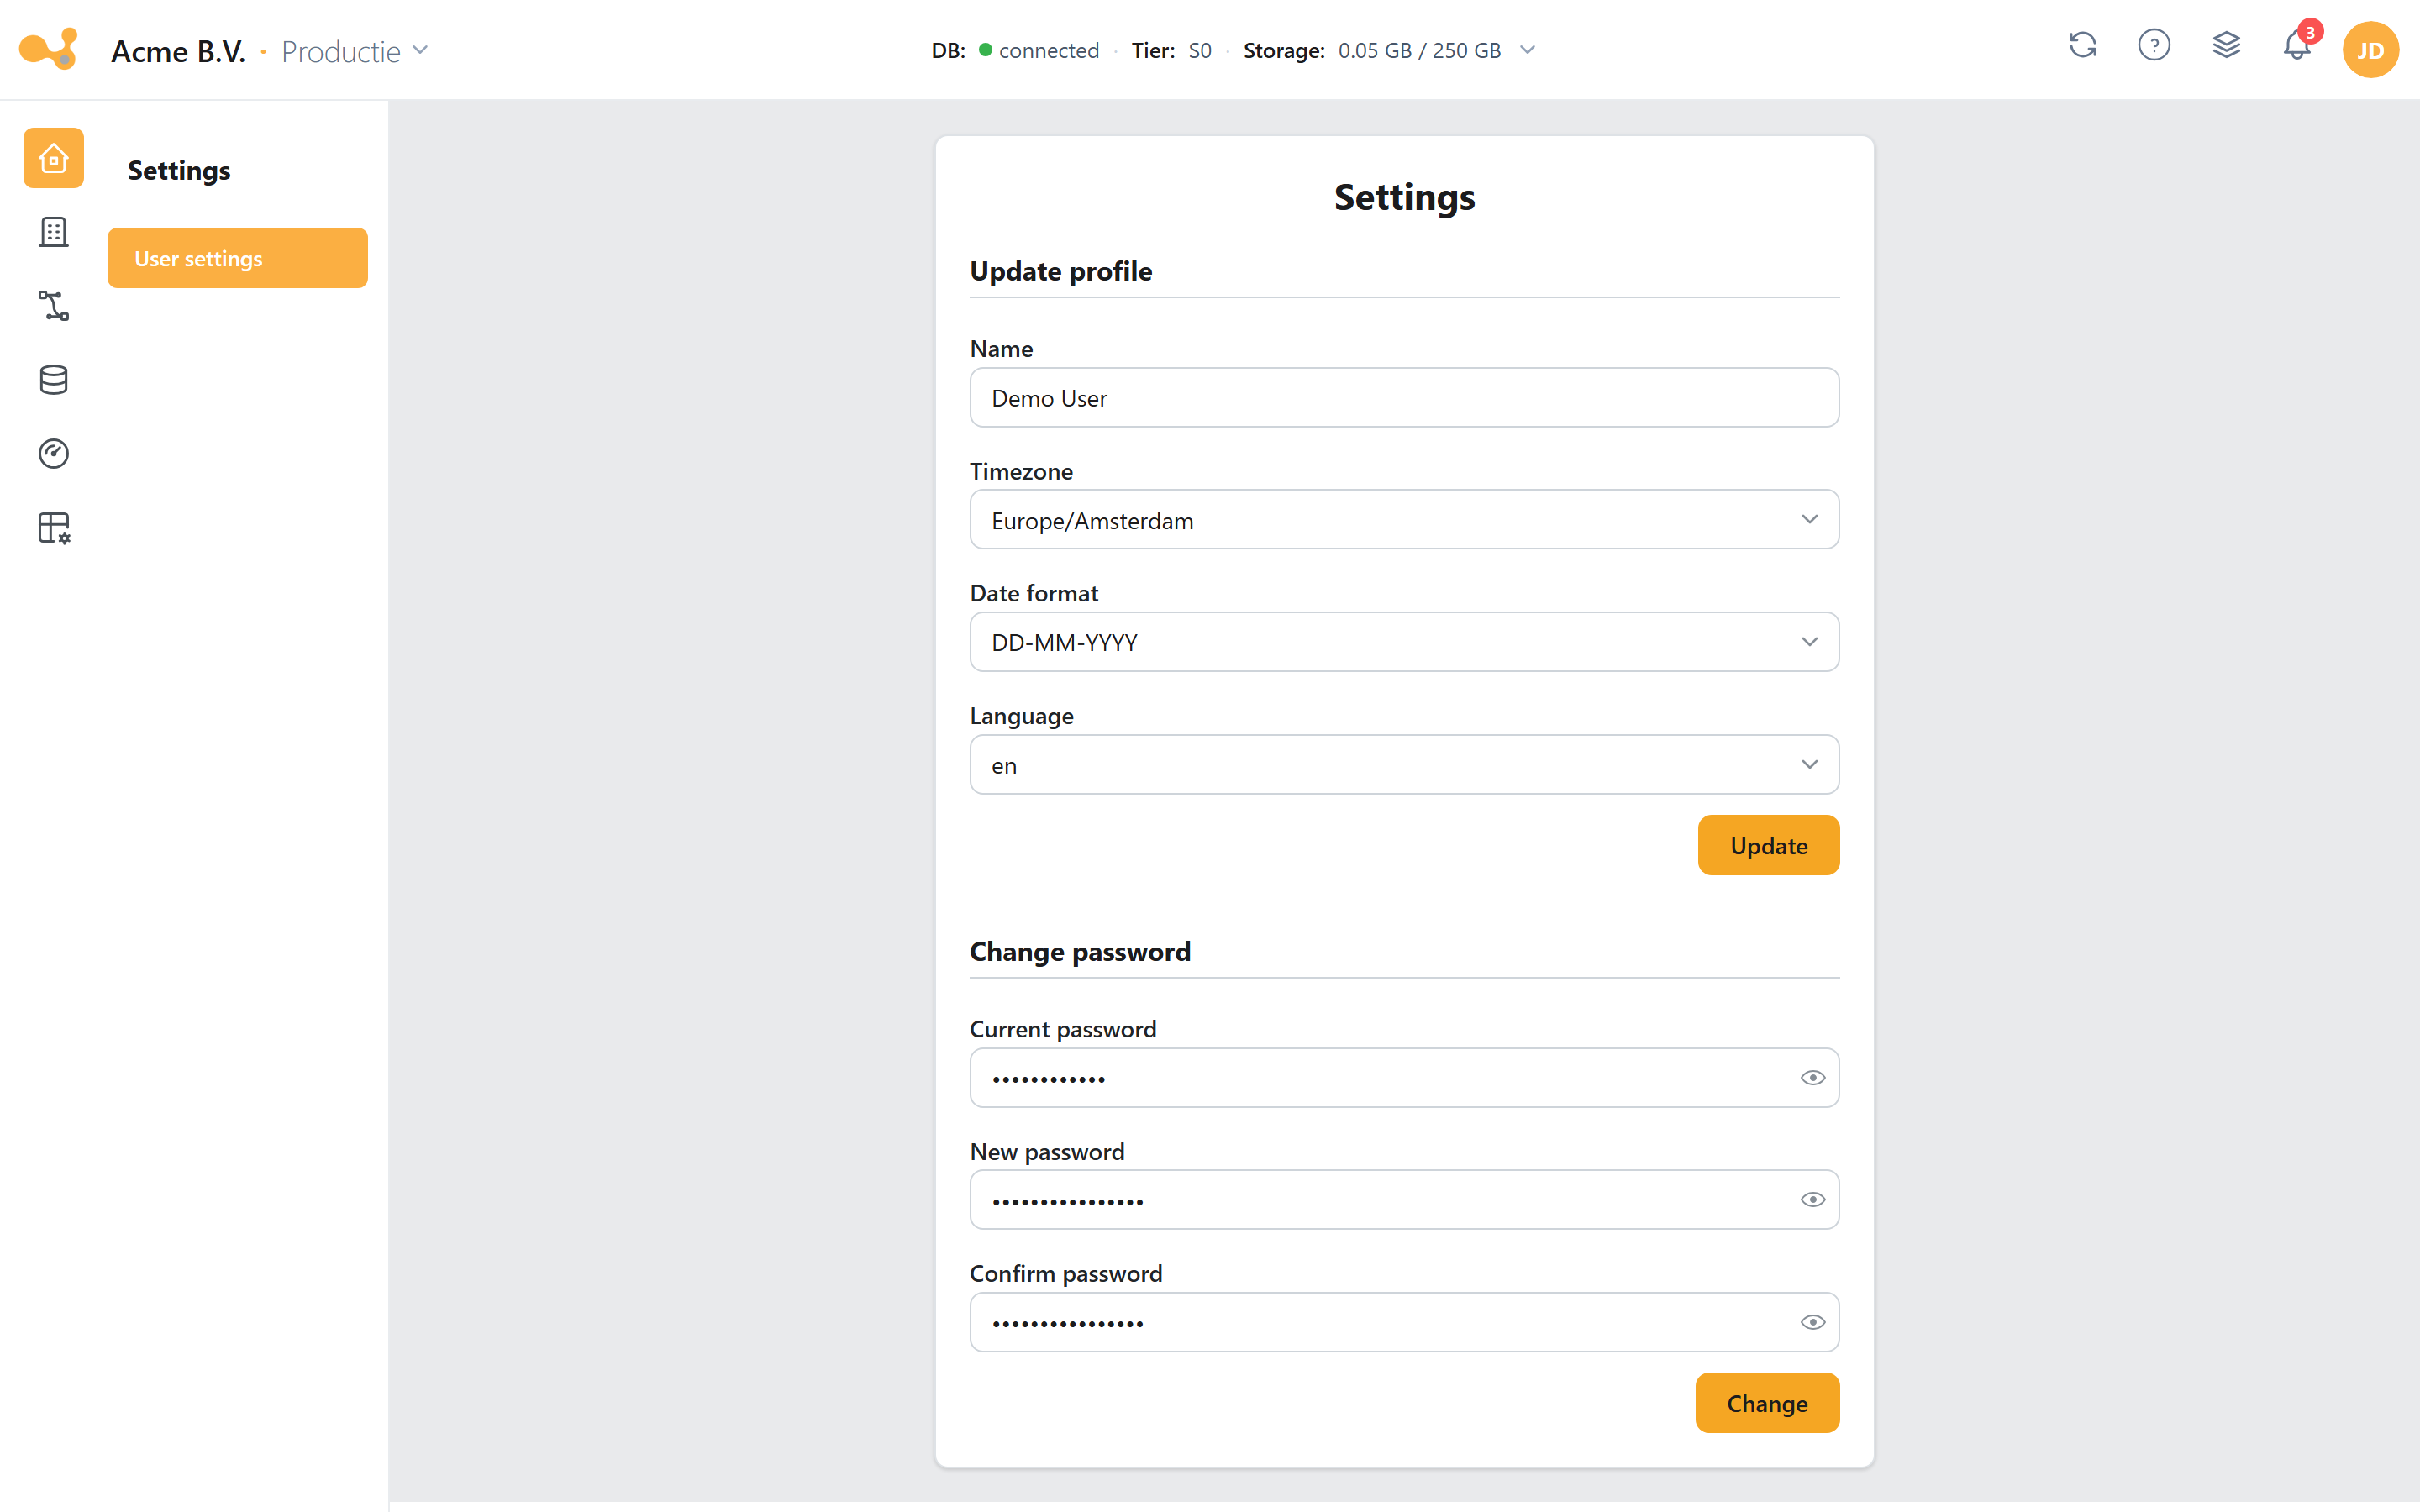
Two stacked forms: your profile at the top (name, time zone, date format, language), the password change below it. The dark-mode toggle sits in the same container.
- Profile form — Name, Time zone, Date format and Language.
- Update — saves your profile (
PUT /user/profile-information). - Password form — Current password, New password (at least 12 characters) and Confirm password (must match).
- Change — saves the new password (
PUT /user/password). - Dark-mode toggle — switch light/dark mode within the container.
Update profile
Adjust the following fields and click Update:
| Field | Description |
|---|---|
| Name | Your display name. |
| Time zone | Determines how timestamps are displayed and which time zone is used when you schedule a trigger (see below). |
| Date format | How dates are shown in the application; this is also stored in your session. |
| Language | Interface language: en, nl or de. |
The email address linked to your account is used for password recovery and as the reply-to for feedback. You cannot change this address yourself on this page: the settings screen (UserSettings) only contains name, timezone, date format and language. An email change goes through an administrator/invitation.
Change password
In the second form you change your password:
- Enter your current password.
- Enter a new password of at least 12 characters.
- Repeat the password under Confirm password (must match exactly).
- Click Change.
API tokens & MCP (from v1.57)
On the API tokens & MCP page (/user/tokens) you manage your personal access tokens. You open it from
the user menu. A token lets a program work with Yres on your behalf, such as an AI assistant through the
MCP server. A token belongs to you as a user and works with your permissions.
The table shows the name (name), the expiry date (expires_at) and the creation time (created_at) of
each token. The token itself can no longer be seen after it was created.
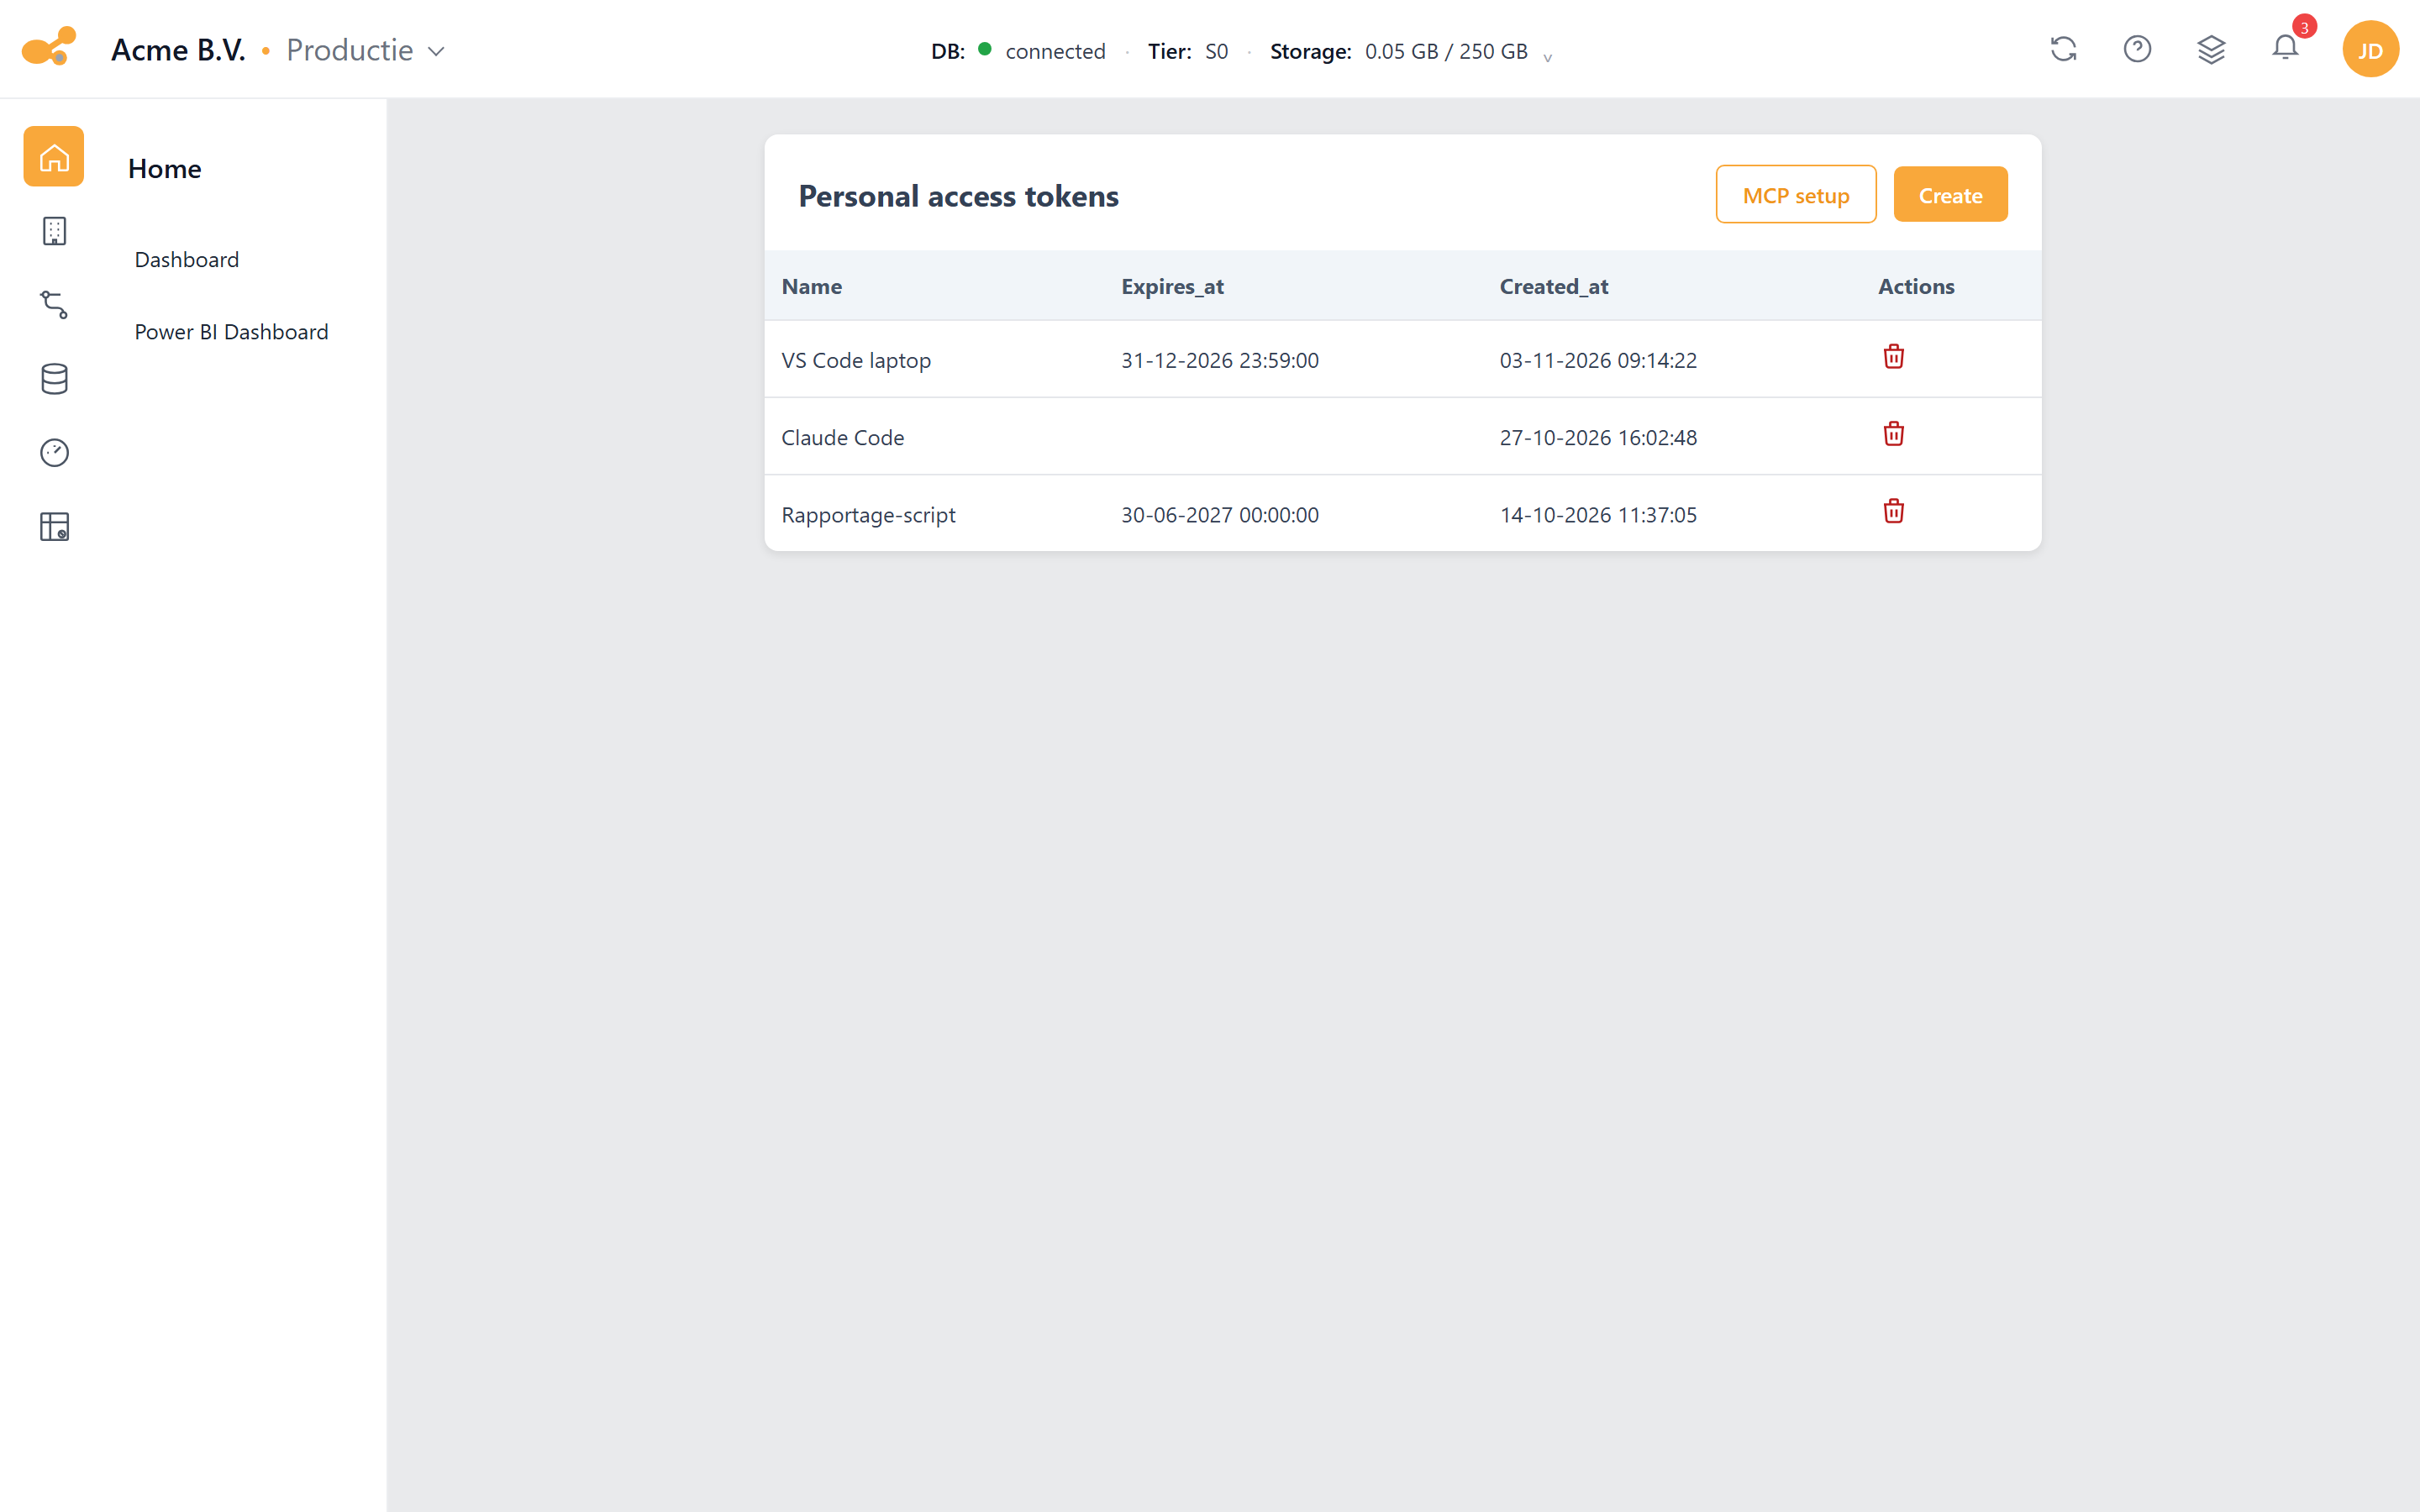
The API tokens & MCP page: per token the name, the expiry date (empty for the default term) and the creation time. MCP setup and Create are at the top right.
Creating a token
- Click Create.
- Enter a Name, for example the name of the program or the laptop you use it on.
- Optionally pick an expiry date under Expires at (optional). If you leave the field empty, the token expires after the default term of 30 days. A date later than that term is not possible.
- Click Create. The Token created window shows the token once. Copy it with Copy token and store it safely.
Revoking a token
Click the trash icon next to the token and confirm with Delete. Programs using this token lose access straight away. This cannot be undone.
MCP setup
The MCP setup button above the table opens the instructions for connecting an AI assistant, with a ready-made configuration for VS Code and Claude Code. See AI assistant (MCP).
Access with a personal access token is off by default. An administrator turns on the organization rule Allow personal access tokens, see Admin › Organization rules.
Time zone and timestamps
Your chosen time zone determines two things:
- Display — timestamps in logs, monitoring and overviews are shown in your time zone.
- Triggers — when you schedule a pipeline trigger, the specified time is interpreted in your account time zone.
The trigger scheduling screen shows the hint "Timezone UTC(+1) will be used". That does not match what actually happens: the backend uses the logged-in user's time zone (Auth::user()->timezone) and converts it to the matching Windows time zone. A trigger you schedule for 08:00 therefore runs at 08:00 in your account time zone — so set your time zone correctly here before creating triggers.
See Load management for creating and managing triggers.
Feedback
Send feedback directly from the frontend via Feedback (/user/feedback). The reply goes to the email address linked to your account.
Feedback is split into three categories:
- Bug report — report problems with the application.
- Feature request — request new or improved features.
- Feedback — general feedback on Yres or on processes.
Feedback from the three in-app categories goes to feedback@yres.app (from version 1.56; before that Feedback@iris-dwh.nl), with your account address as the reply-to.
Forgot and recover password
If you can no longer log in, use the recovery flow. It consists of two screens: requesting a recovery email (/forgot-password) and setting a new password via the link in that email (/reset-password/:token).
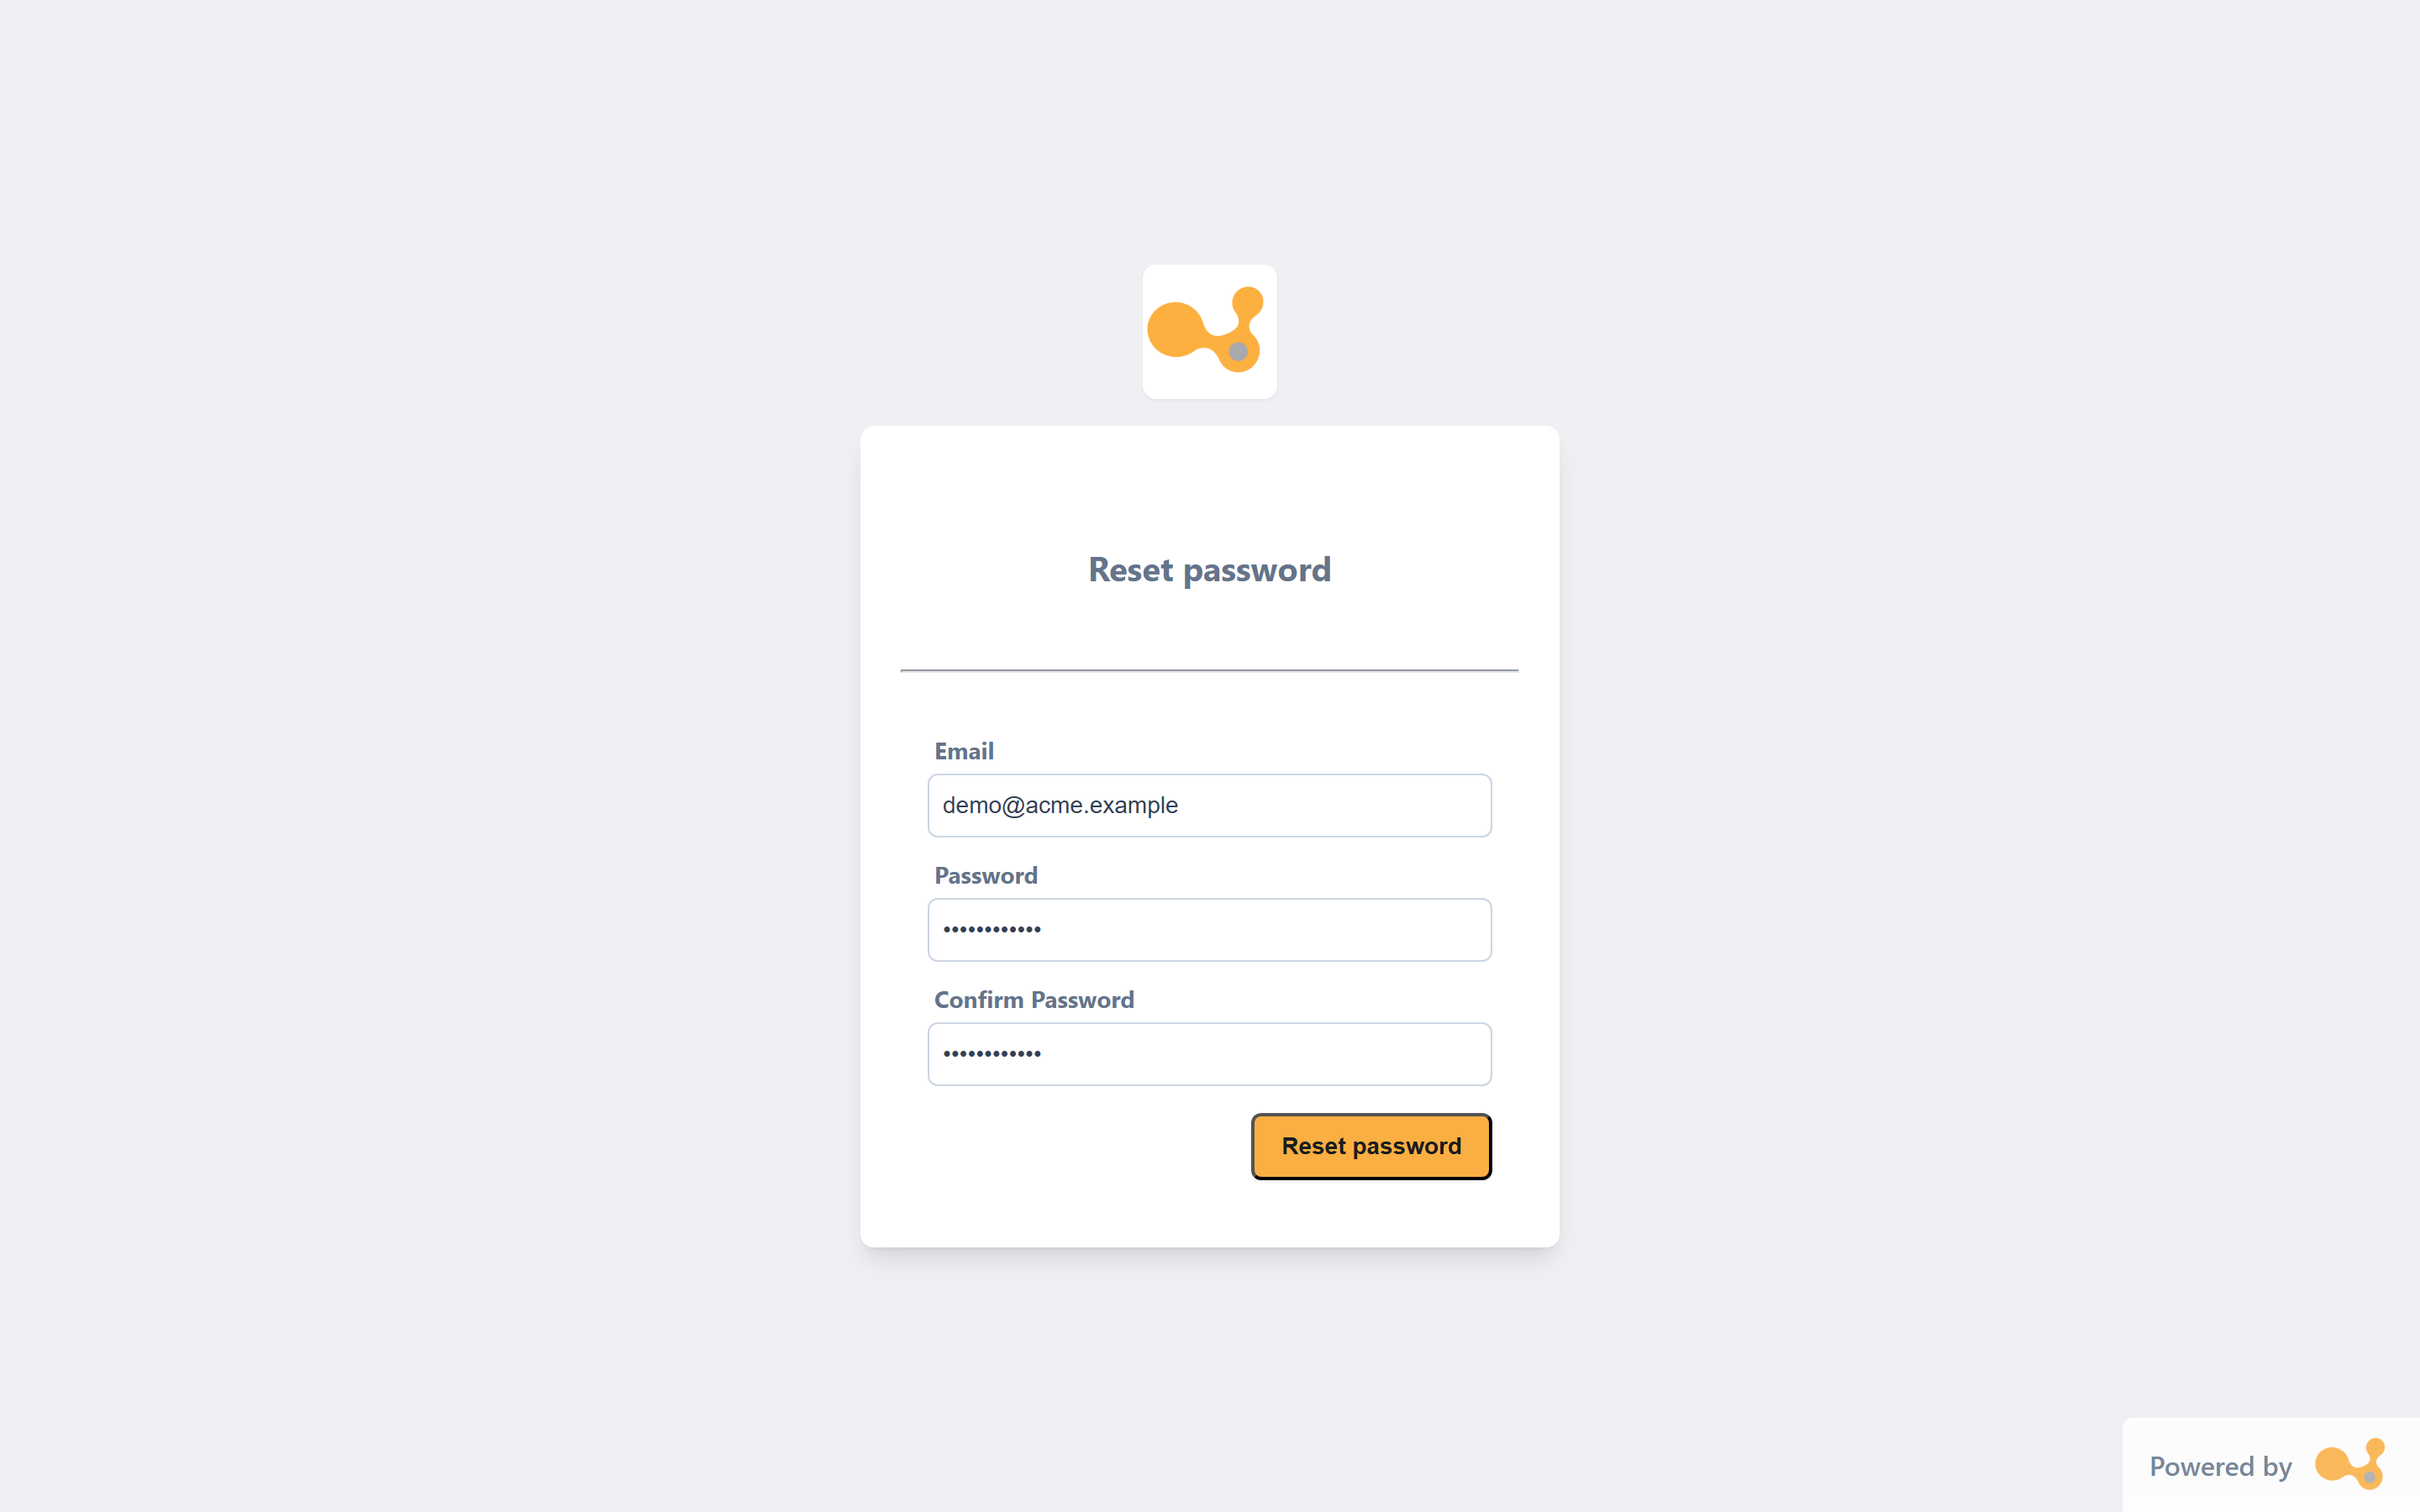
Left: "Forgot password" with a single email field. Right: "Reset password" with email, new password and confirmation.
Step by step
- On the login screen, click "Forgot password?".
- On Forgot password (
/forgot-password) enter your email address and click "Reset password". You see the message "Reset email sent if the account exists". Use "Sign in" to return to the login screen. - Open the recovery email and click the link; it takes you to Reset password (
/reset-password/:token). - Enter your email, a new password (minimum 12, maximum 50 characters) and Confirm Password (must match).
- Click "Reset password". On success you are redirected back to the login screen.
| Screen | Route | Fields |
|---|---|---|
| Forgot password | /forgot-password | |
| Reset password | /reset-password/:token | Email, Password (min. 12, max. 50), Confirm Password |
For security reasons, the recovery-email message does not confirm whether the email address exists: you always get the same confirmation. The :token in the reset link is single-use and belongs to the requested recovery email.